ClockworkPi DevTerm
Hoo boy! #DevTerm @Hal_clockwork

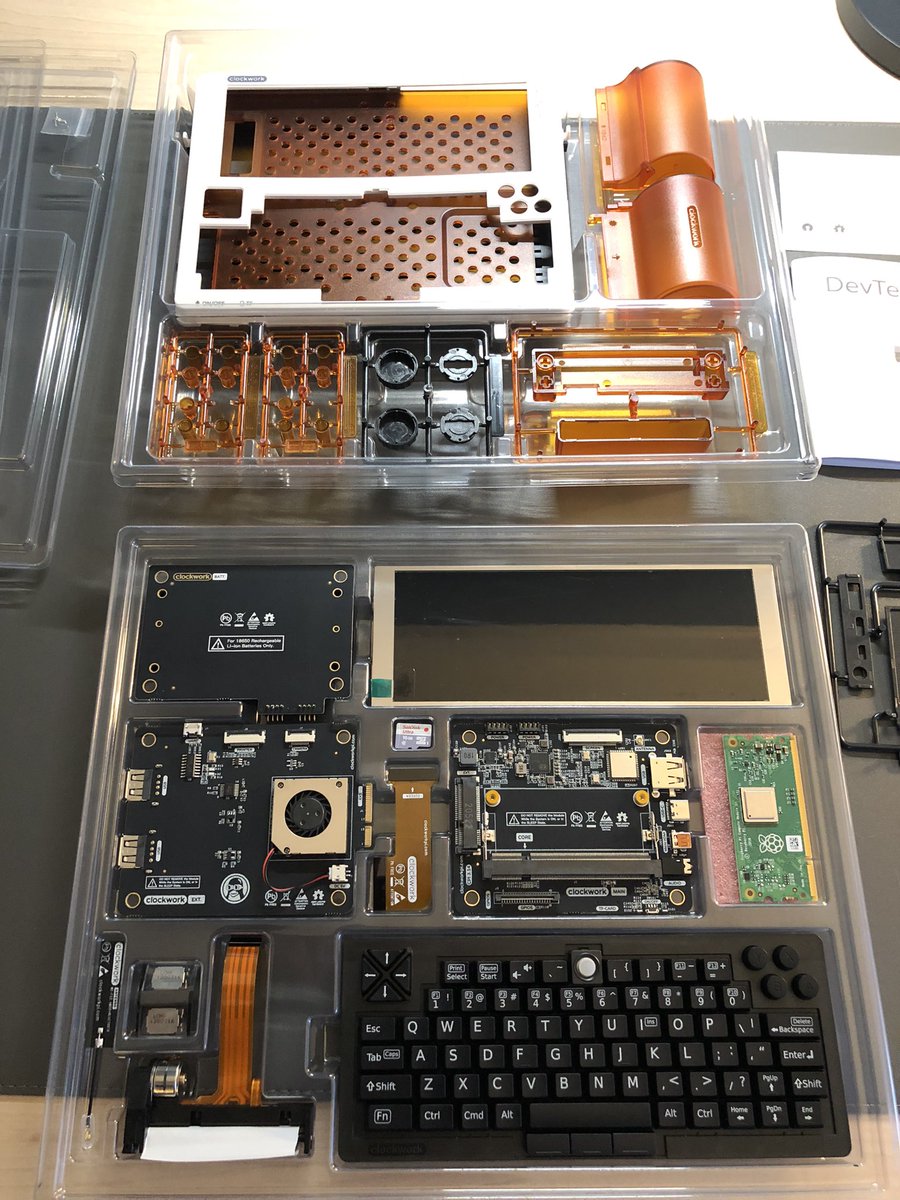
Sexy ClockworkPi packaging

Parts with plastic removed for a better photo
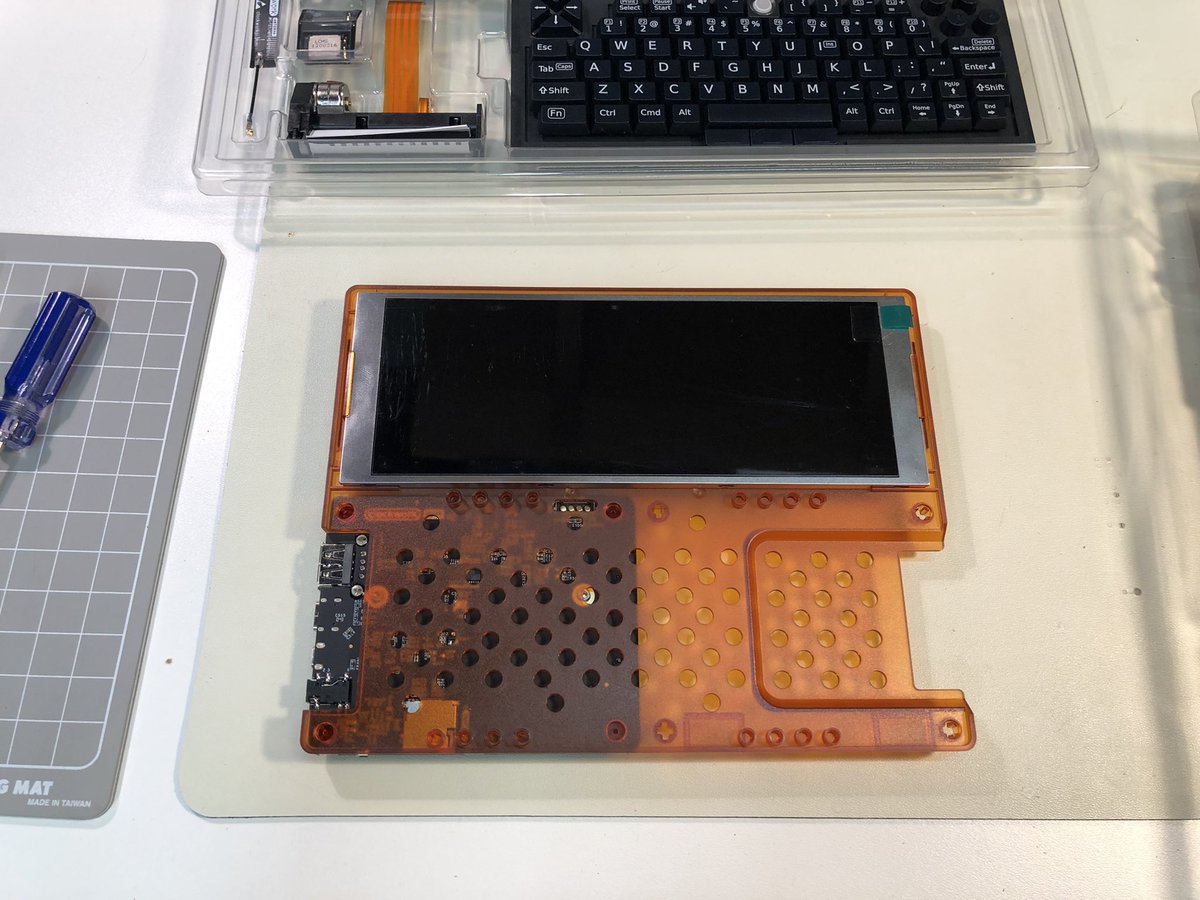
Step A: pressure fit the ultra wide screen. Step B: mount the main board (3x plastic posts), attach the RaspPi CM3 (2x tiny screws).
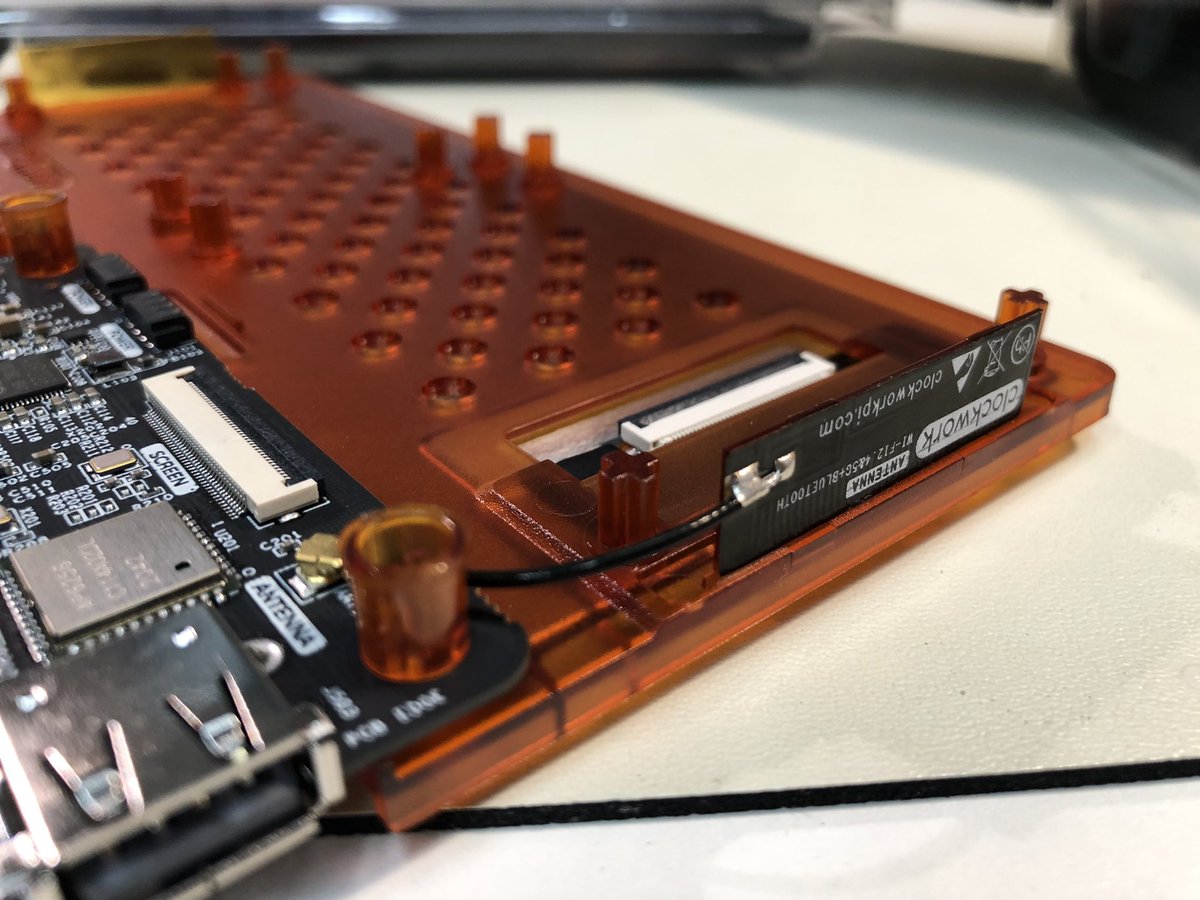
Step E (?): affix and connect antenna. Step F: affix little speakers.
Attn @Hal_clockwork : My printed assembly manual is missing pages 18-25, and 26-33 are duplicated.
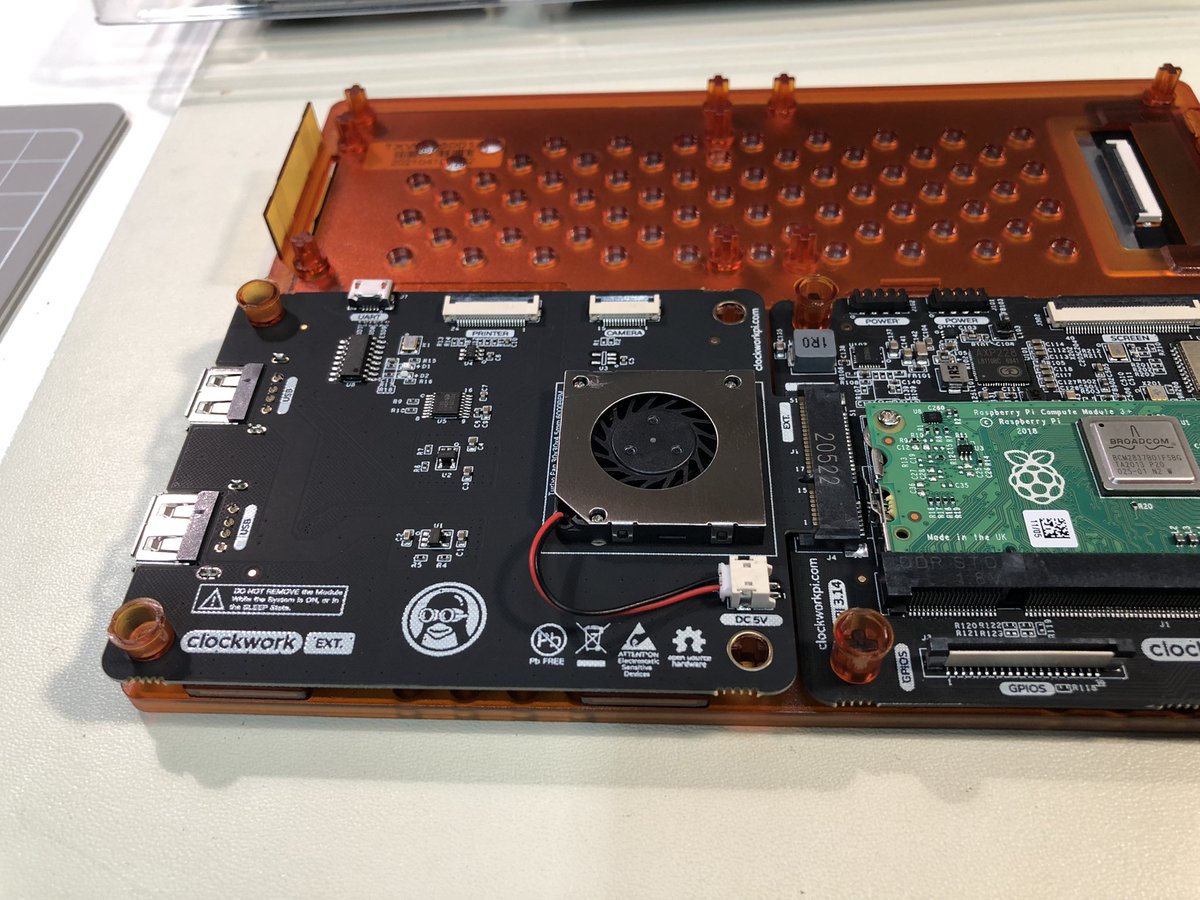
Step G: attach and mount the Ext board. (My plastic bits only included two of the four B3 posts.) Step H: snap fit thermal printer to mount, fit mount to unit, and connect printer. The connector on the Ext board has a bit that hinges up and clasps the ribbon cable.
[Edit: This was a much longer tweet thread that got broken up, and later parts were lost. See this summary post on the PICO-8 BBS for a summary of the whole endeavor.]
(Originally posted to Twitter on September 2, 2021. It received 53 likes and 2 retweets.)